Autogenous welding is the process of welding materials such as steel or iron. It is used in a wide variety of fields, such as central heating, iron and metalwork, and in case of furniture manufacturing. With practice, a high-grade autogenous weld will be smooth, straight and even. However, there is often a slight overthickness at the junction point.
Which welding torch should be used for autogenous welding
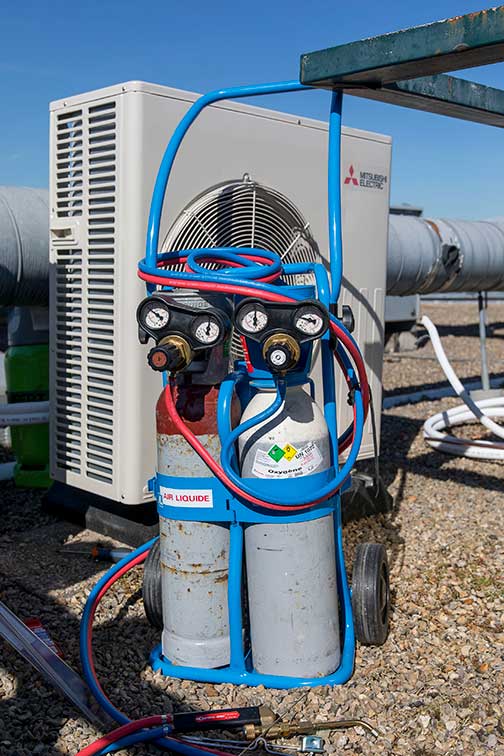
Example of an oxyacetylene torch
The oxyacetylene torch is the most suitable for autogenous welding, as it allows the torch to be supplied with an optimal proportion of oxygen and acetylene. For this purpose, two small needle valves are needed – sometimes white for oxygen – but most often it will be blue, and red for acetylene – they can be adjusted with a knurled knob.
A suitable nozzle is also needed for a given sheet thickness. The diameter of the nozzle varies between 0.5 mm and 3 mm, which allows you to modulate the combustion of gas between 50 and 1,400 litres per hour.
The sheets to be welded can be very thin and up to 15 mm thick. If your sheet is too thick, you will certainly have to proceed in two stages, welding the sides one after the other.
How to keep balanced the torch flame
You must open the acetylene valve first, then gradually open the oxygen valve. The ideal flame should have an extended shape. Adjust your valves until the flame is clean, non-smoking and perfectly homogeneous. Always start by increasing the acetylene flow rate first, then add the oxygen.
If your torch produces short, clapping sounds, the causes can be very diverse.
1. You are running out of oxygen: your gas cylinder is running out or your hose is clogged (or crushed).
2. Your spout is overheating: turn off the acetylene valve and reduce the flow of oxygen, then dip your spout in a container of cold water. It is imperative that you keep the oxygen flow low so that water cannot get into your beak.
3. Your spout is clogged: cool the spout in the same way, before removing it for cleaning, using the appropriate needles.
How to do autogenous welding
Autogenous welding requires experience to be carried out correctly. Before starting, you must firmly fix the parts to be welded to ensure their stability during the operation. Clean them well before bringing them to the right temperature.
As soon as your parts start to melt, they will come together. However, as the joint may be weakened by the melting at the junction point, it is advisable to use a filler metal to reinforce it. Note that if you use a filler metal, it should always be the same as the elements to be joined. Hence the term “autogenous” solder…
If you are new to this type of welding, you should practise beforehand. To do so, use a sheet of medium thickness and practise drawing fusion lines by melting the surface. Apply a 45° inclination between your torch and the sheet and keep the end of the torch at a constant distance of a few centimetres. The flame sting should be 3 to 4 mm from the sheet metal. You should draw regular lines, but do not pass through the sheet metal.
Then practise closing the groove with the filler metal. The rod should also form a 45° angle to your sheet, but in the opposite direction to the torch.
As you move from exercise to practice, you can help yourself by chamfering the edges of the parts you are going to weld.